Orthopedic Bone Rongeurs are valued for controlled bone removal in procedures where access and precision matter. Their compact jaws can help surgeons shape bone around a confined operative site. A clean bite. A steady grip. These details may influence handling, but no instrument can replace sound technique or clinical judgment.
Choosing the right rongeur means looking beyond its appearance. Consider jaw shape, cutting capacity, handle comfort, and the tissue or bone involved. A fine tip may suit narrow access, while a heavier pattern may be preferred for denser bone. Reprocessing requirements, material quality, and compatibility with your practice’s protocols also deserve attention. Fit is personal. A tool that feels balanced in one surgeon’s hand may feel awkward in another’s.
For transparency, the following is an illustrative, fictional quotation, not a verified statement from a real specialist: “A dependable rongeur should give the surgeon control without making the next movement feel uncertain.” — Dr. Elena Morris, fictional orthopedic instrument specialist. That principle offers a useful starting point, not a universal rule. The best choice depends on the procedure, the user, and the manufacturer’s instructions. Even a well-made instrument can disappoint if its size or jaw pattern does not match the task. A careful comparison can help your practice select Orthopedic Bone Rongeurs that support precise handling, consistent preparation, and informed purchasing decisions.
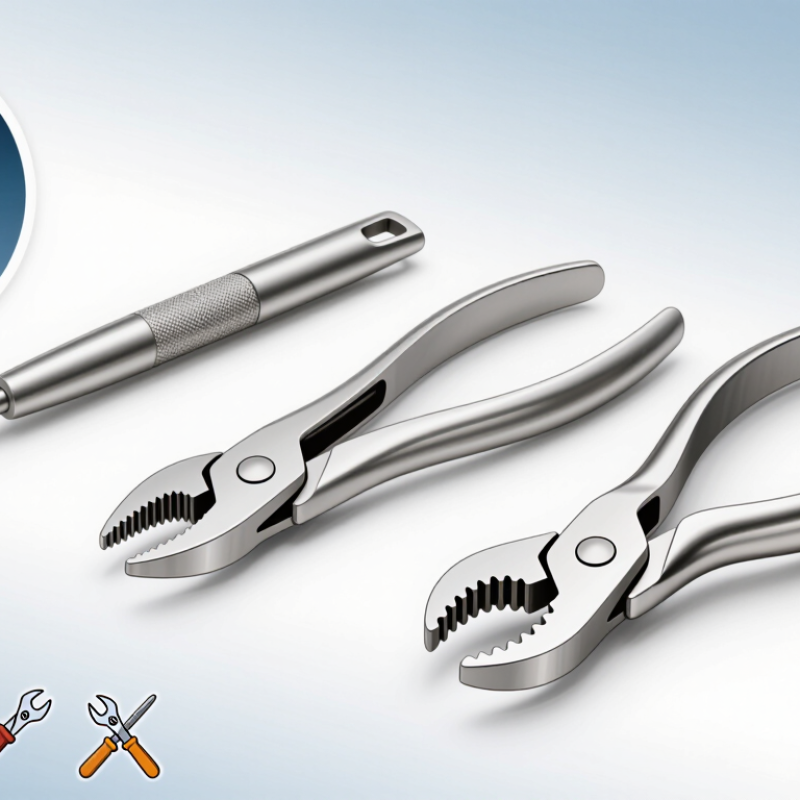
Bone Rongeurs Defined: Jaw Design, Handle Mechanics, and Cutting Action
Orthopedic bone rongeurs remove small pieces of bone through a controlled biting action. Their jaws may be straight, angled, or curved, helping clinicians reach different areas while maintaining a clear view. The cutting edges meet at the tip, where a firm squeeze closes the jaws around bone. Some designs use a single-action mechanism; others add a linkage that increases jaw force with each handle squeeze. The feel differs. Small jaw openings can support precise work, while broader jaws may remove more material per bite.
Handle mechanics matter during repeated use. Spring-assisted handles reopen after each squeeze, while grip shape and length affect control, reach, and hand fatigue. A smooth, deliberate closure is usually easier to manage than forcing the instrument through resistance. Bone rongeurs are not interchangeable with scissors; their edges are made to bite and shear bone, not slice soft tissue. Good technique depends on anatomy, instrument condition, and training. No tool replaces judgment. Even experienced users may need to pause and reassess when visibility or resistance changes. Before use, inspect the jaw alignment and opening action; a stiff hinge or uneven bite deserves attention.
Why Choose Orthopedic Bone Rongeurs for Your Practice? — Bone Rongeurs Defined: Jaw Design, Handle Mechanics, and Cutting Action
| Rongeur Design | Jaw Design | Handle Mechanics | Cutting Action | Typical Selection Considerations |
|---|---|---|---|---|
| Straight-jaw, single-action | Jaws align with the instrument shaft and meet directly at the cutting edges. | Handle movement transfers force through a direct pivot linkage. | One closing action brings the cutting edges together to remove a small bite of bone. | Useful when the operative site is accessible in line with the instrument. Jaw width and reach should match the intended task and available working space. |
| Curved or angled-jaw | Jaws are offset or angled relative to the shaft to change the approach to the target. | Handle operation is generally similar to that of other pivoting rongeurs; the angle changes access, not the basic cutting principle. | The jaws close around exposed bone from an angled approach. | May help improve access around anatomy or within a confined field. Confirm that the jaw orientation provides clear visualization and controlled placement. |
| Double-action | Jaws close through a compound linkage rather than a single direct pivot. | The linkage provides mechanical advantage, typically trading jaw travel for increased force at the cutting end. | Progressive handle compression drives the jaws together for controlled removal of bone. | Consider when a stronger bite is needed. The feel and amount of jaw travel differ from a single-action instrument, so handling characteristics matter. |
| Punch-style (Kerrison pattern) | A movable footplate or lower jaw supports bone as a cutting element advances across it. | Handle compression actuates the cutting mechanism; a spring or return mechanism may reopen the instrument. | The cutting element shears a small portion of bone against the supporting jaw. | Often selected for controlled bone removal in narrow working corridors. Match the footplate, bite size, and shaft length to access requirements. |
| Rongeur with spring-return handle | Jaw geometry may be straight, curved, or another pattern; the return spring is part of the handle mechanism. | A spring reopens the handles after compression, supporting repeated use without manually spreading them each time. | The cutting action depends on the jaw and linkage design; the spring assists reopening rather than cutting. | Consider spring tension, grip comfort, and smooth return. Check that the mechanism moves freely and that the jaws align as intended. |
Selection note: Choose jaw geometry, bite size, reach, and handle action according to the procedure, access, and the clinician’s technique. Follow the instrument’s instructions for use, including cleaning, inspection, and sterilization requirements.
FAQS
It removes small pieces of bone with a controlled biting action. Its cutting edges meet at the jaw tips.
Straight jaws offer a direct approach in accessible areas. Angled or curved jaws may improve visibility in confined spaces.
Smaller bites can support careful work near delicate structures but may take longer. Larger bites remove more bone per squeeze and need a clear view.
Spring-assisted handles reopen after squeezing. Grip shape and handle length can affect control, reach, and hand fatigue.
No. Its edges are designed to bite and shear bone, not slice soft tissue.
Check jaw alignment, opening action, cutting edges, and handle grip. A stiff hinge or uneven bite deserves attention.
No. It may improve access to a defined area, but it cannot make an unsafe angle safe. Visibility matters.
Match the jaw profile, reach, and bite capacity to the planned work. I would not choose by jaw size alone; grip comfort can be easy to overlook.
Conclusion
Orthopedic Bone Rongeurs are precision instruments designed to remove small, controlled amounts of bone and help create surgical access. Their jaws shape the bite and cutting action, while handle mechanics affect grip, leverage, and control. Understanding these features helps practitioners select an instrument suited to the procedure and their preferred handling.
Instrument materials, including surgical steel specified to relevant requirements such as ISO 7153-1, are important considerations for durability and reprocessing. Selection should account for jaw profile, bite size, access needs, and the amount of bone removal required. After use, cleaning and sterilization must follow the instrument’s validated instructions and applicable facility protocols. Steam-cycle parameters such as 132°C for 4 minutes or 121°C for 30 minutes may be relevant examples, but suitability depends on the device, packaging, and sterilization system.